DIY Solar "Gaming PC"
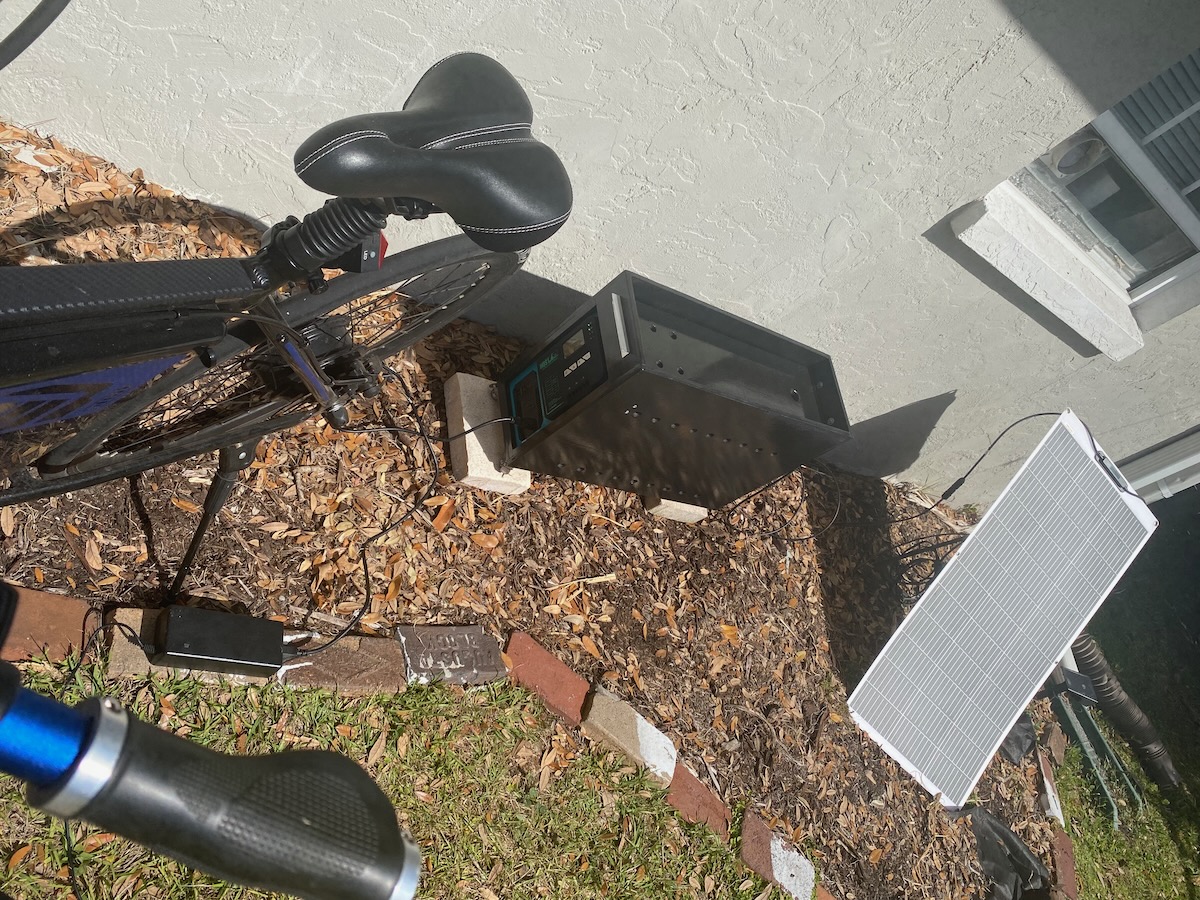
I recently completed a DIY project designed to put a complete, small solar power system into a single portable box, with the goal being able to put this into my car, or take it to a camp spot, or generally be able to relocate easily. The box measures just 8.5” wide and is 24” long and 16” high. I think it actually looks like a slightly oversized desktop PC.
I used some common tools and materials and am quite happy with the result. A table saw would have made some of the panels a bit more precise, but the end product is quite usable. The box is sized to be narrow enough to live in the foot area of a passenger car back seat, or fit easily in a trunk.
The setup contains:
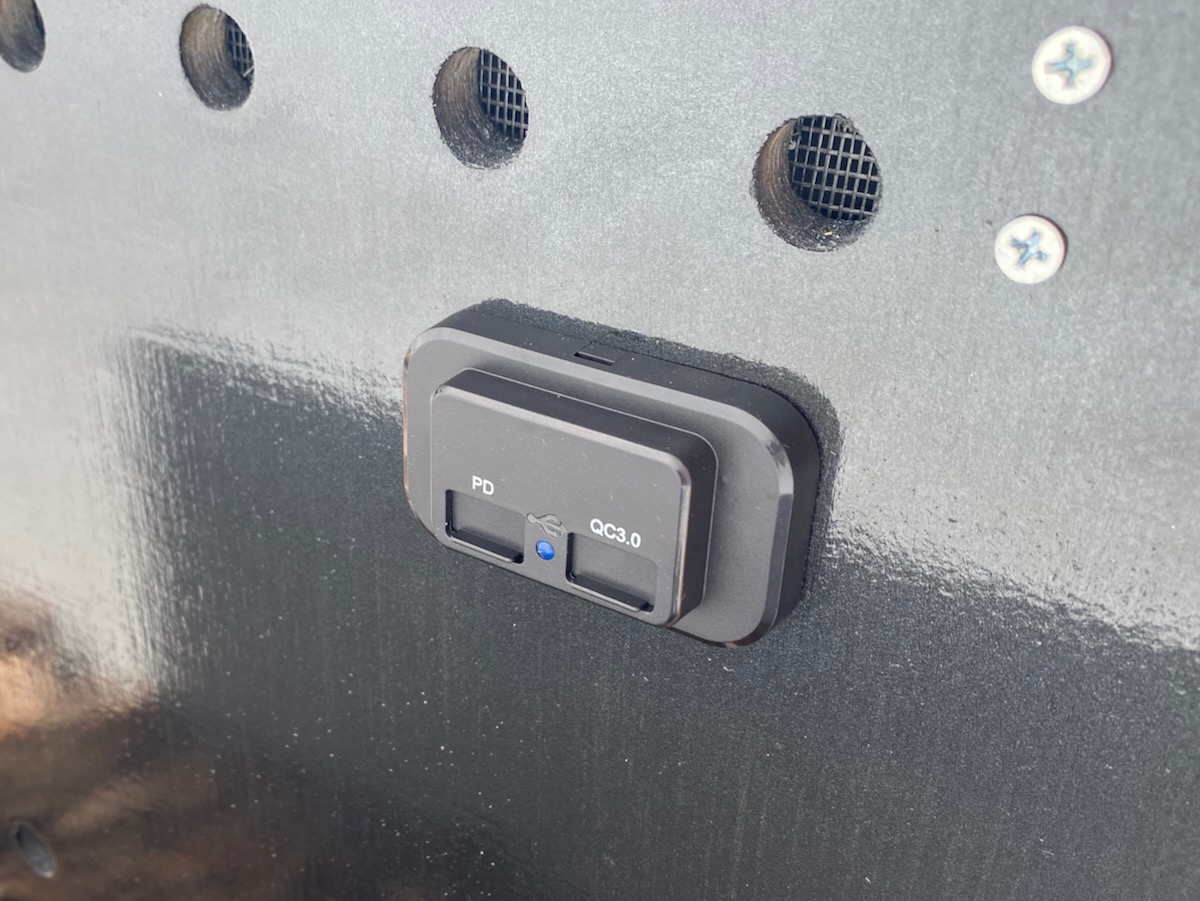
The removable box top sits down inside the box and is designed to double as a “shelf” that could hold small miscellaneous items and keep them from flying around if the box is in a moving car. Perfect for placing a USB battery brick while charging it.
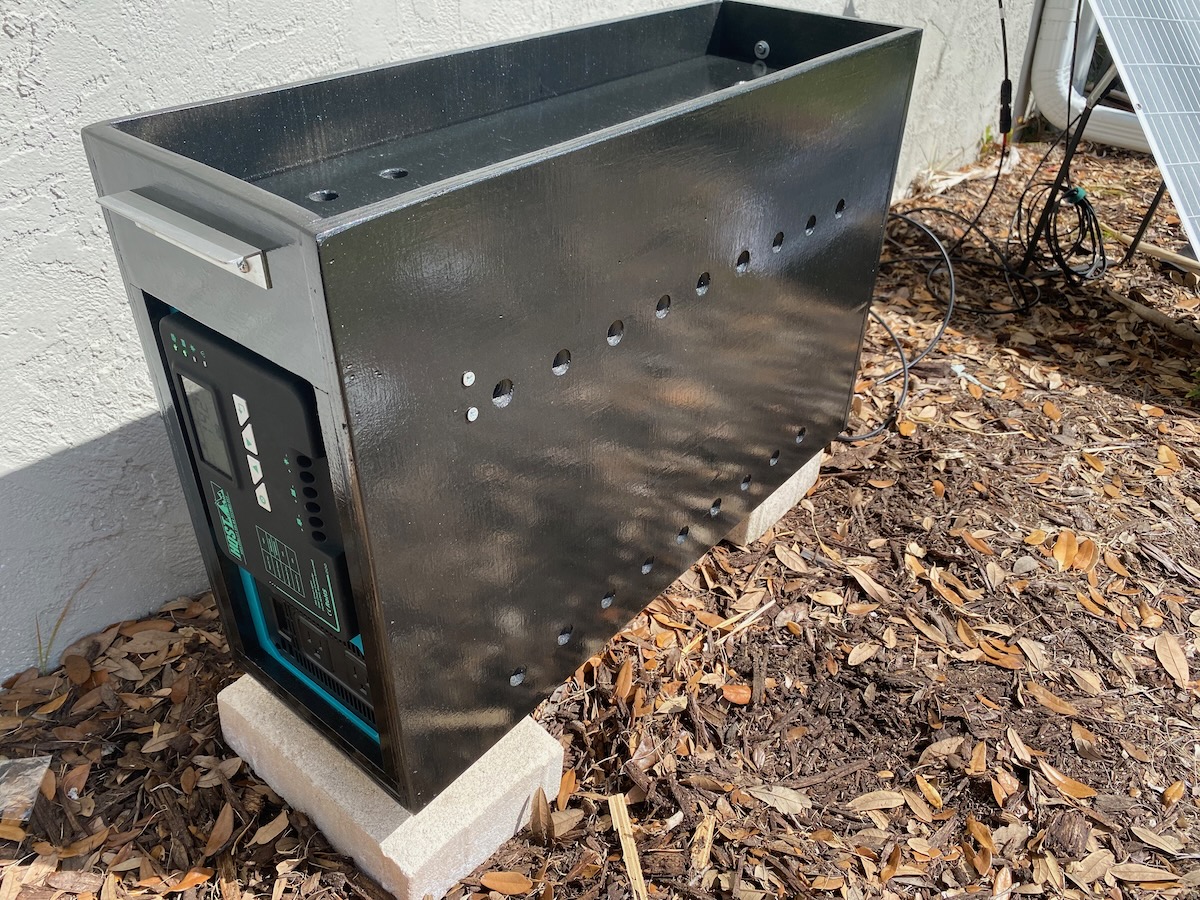
I built the box out of the least expensive 1/2” plywood with a decent finish that I could find at Lowes (wood is so expensive these days!). Air vent holes in the sides and top help to prevent some heat build up and I covered the inside of the holes with screen mesh to keep bugs and critters out (I live in Florida and lizards love to find little places to hide.) Assembly was done with wood glue and brad nails, and the box was spray painted black (simply because I think it looks cool that way) and then has 3 coats of gloss polyurethane to give some moisture protection.
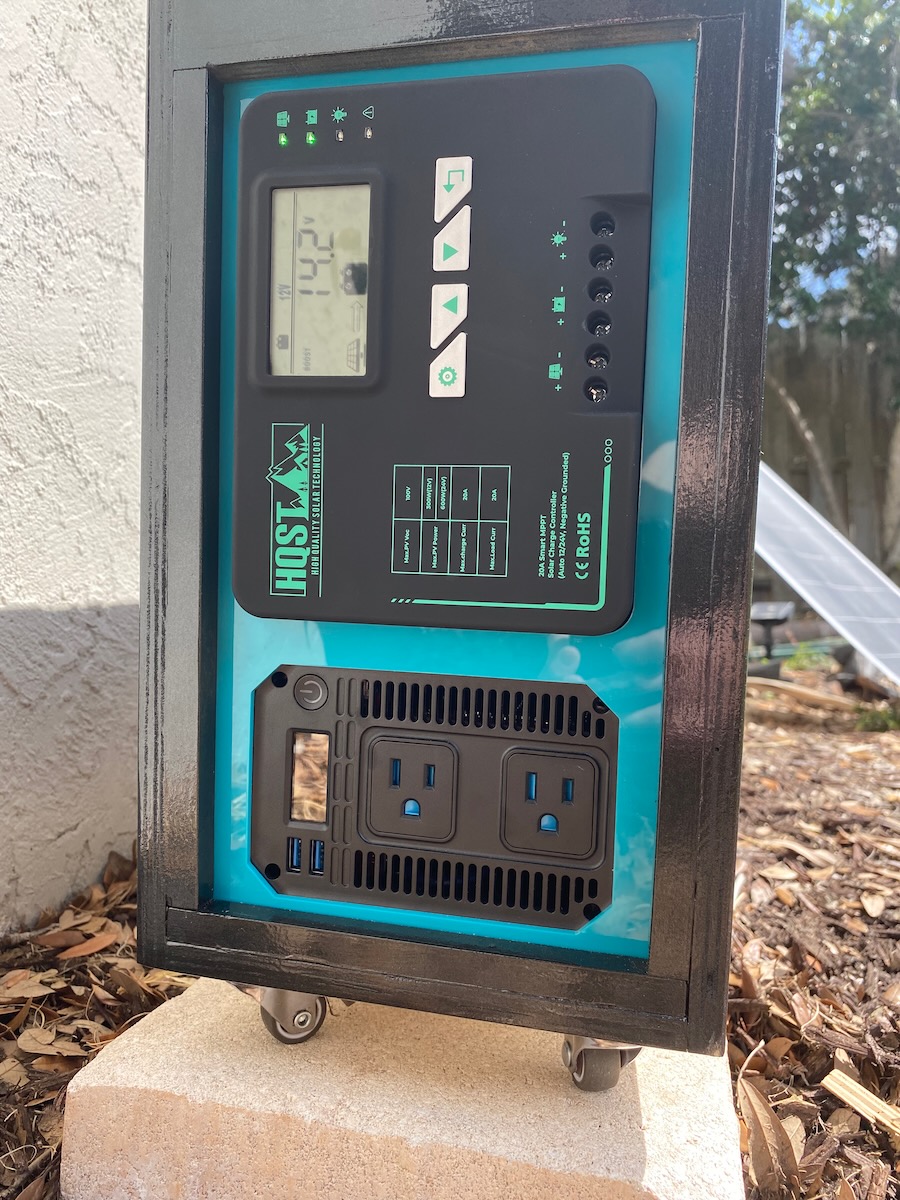
It’s a tight fit inside to keep everything in place and avoid rattling around. The battery was placed lengthwise to keep the overall unit as narrow as possible. I really didn't want the box to be a big bulky affair like my previous plastic storage box version. The front panel is a laser cut piece of 1/8” acrylic, sized to perfectly mount the inverter ports and charge controller. I added a few little internal braces to keep things solid. Some 1" locking roller wheels make it a bit simpler to move around, since that 70lb battery is a major chonker.
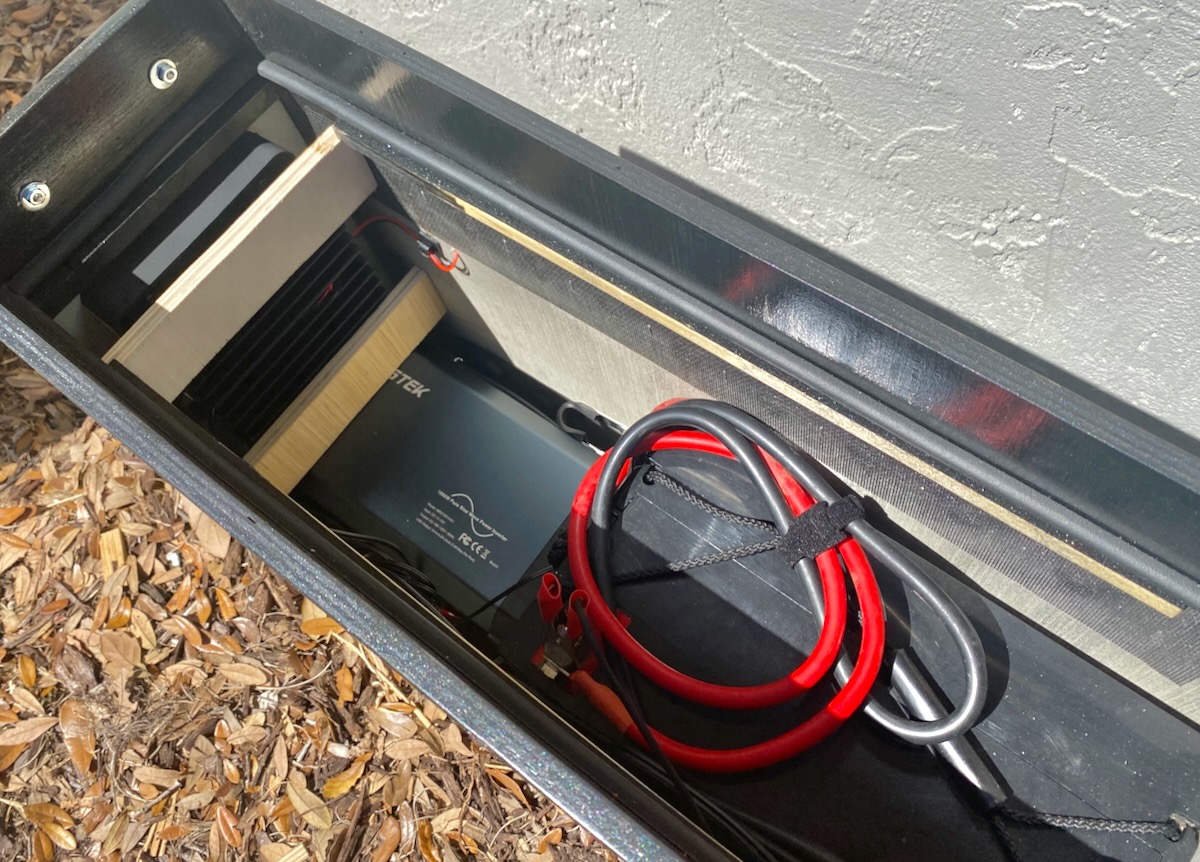
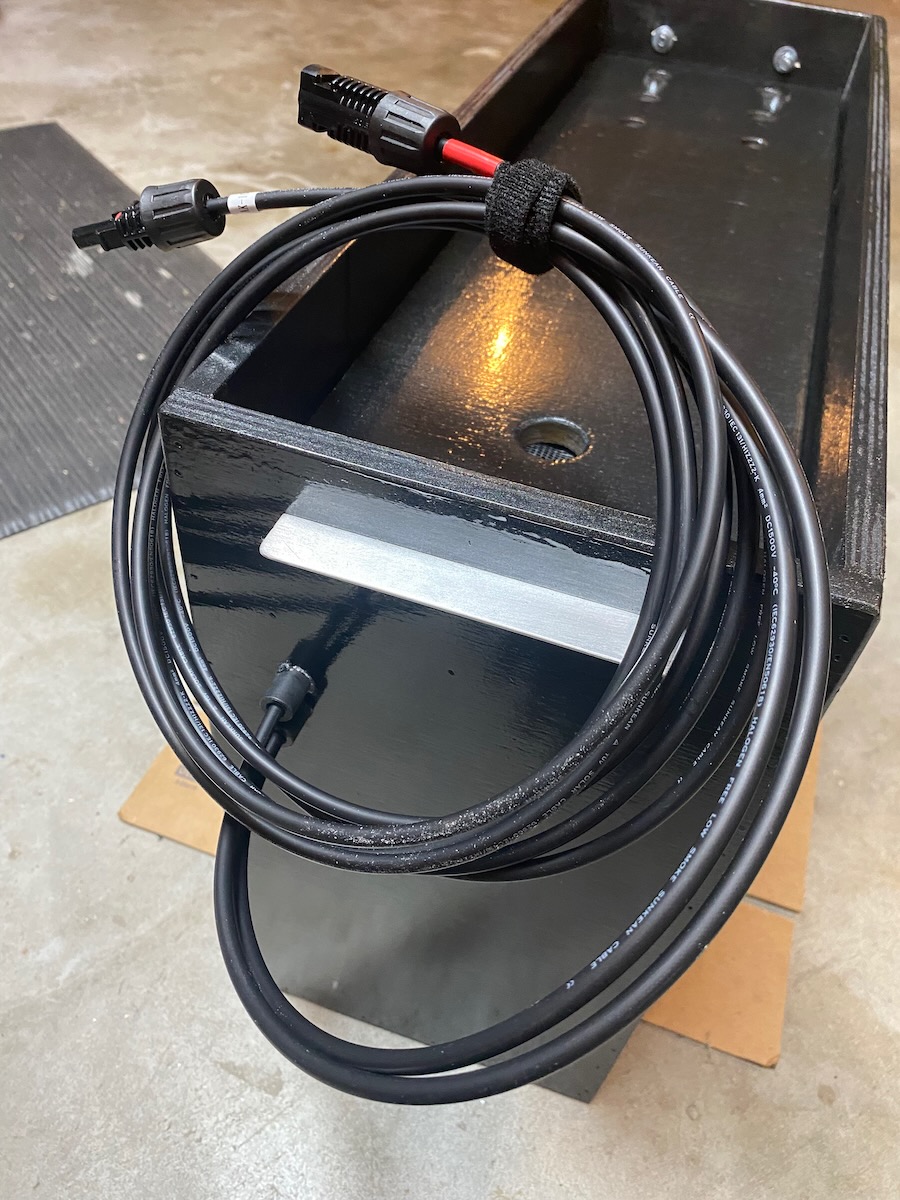
Some brushed aluminum L channel makes for low profile handles, and I added a pair of perfectly sized passthrough holes to allow a set of 10' MC4 extensions to be available on the outside of the box, so that if I want to relocate the system there is no need to get inside or take anything apart, just disconnect the panel from the extensions and it's all set.
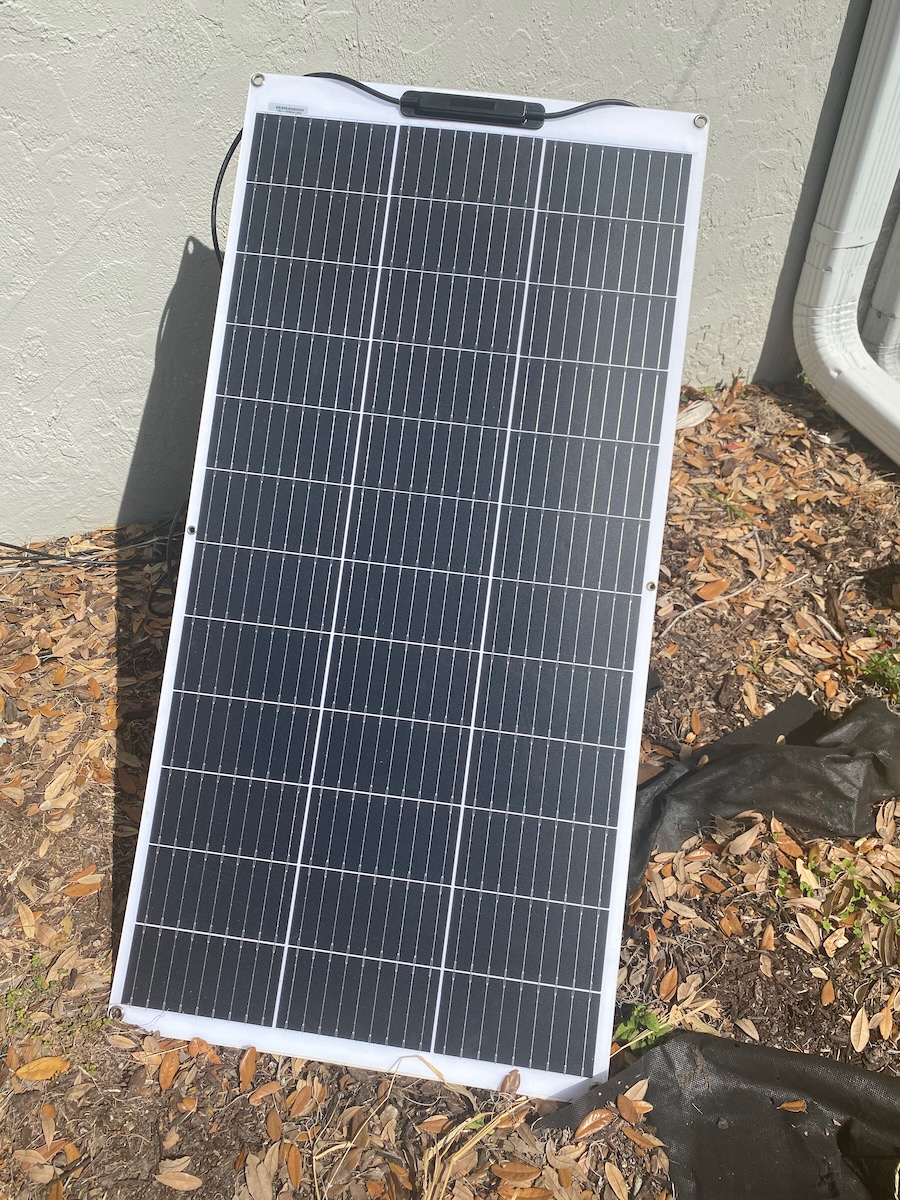
Overall, when paired with a flexible 100w panel, I can use this just about anywhere and someday when I build out my car camper setup I’ll have a ready-to-go power solution that can fit behind the passenger seat. For the moment I have the system in my backyard so charging my electric bike or using a powered hand tool is super convenient. Of course, it just feels good to know that the power is coming from a totally clean source.